Introduction
On our initial visit to the property the client requested the basement be converted to habitable space to allow a business to be run from home. The client is a tattoo artist, an exceptional one at that and has extremely high standards. The basement area was quite small, not covering the entire footprint of the property, this was a minor concern at first in that would there be enough space to operate in once the area was completed.
The basement was blessed with height however, with clearance of over 2.5 meters. The basement is accessed via concrete steps from the rear garden only. Access from the main property itself does not exist. The basement was secured via a timber, gate-like door. One light switch and one light bulb were the only power source present with an old unused water heater fitted to the wall. There were also some very, very old unused pipes present.
The floor was a very thin concrete slab, you stepped down into the basement through the door meaning there was ample room for a new floor.
The client’s instruction was to ensure the area is dry, warm and looks “tricky” (different, funky, interesting).
Finally, we could begin to make some progress. We prepped the floor to receive a new slab incorporating crusher, membrane, rebar and insulation. A 150mm floor slab was laid. The sump chamber was installed and submerged within the slab. We installed the cavity drainage membrane to all walls as well as the floor along with drainage channels to the base of the walls. The channels led to the newly improved drainage as well as the sump and pump chamber. This system is designed to allow water in to the basement but then to manage and disperse it thereafter.
A flood test was carried out on the drainage system which passed immediately. The dual pump installed is capable of dispersing 165 litres of water per minute. This was pumped in to the main sewer drains externally.
We installed a new suspended timber ceiling incorporating spot lights, insulation plasterboard and skim. The walls were all timber framed, fixed in to the CDM plugs so as not to compromise the integrity of the membrane. The walls were also insulated and plastered to a finish. Moisture resistant, 22mm flooring sheets were installed on top of the membrane.
A small WC and vanity unit were installed behind a studded wall. These were installed on a sani-flow system.
The membrane system for the floor was continued to outside at the foot of the concrete stairs. A concrete screed was applied on top. A new composite door and frame was installed for the required security.
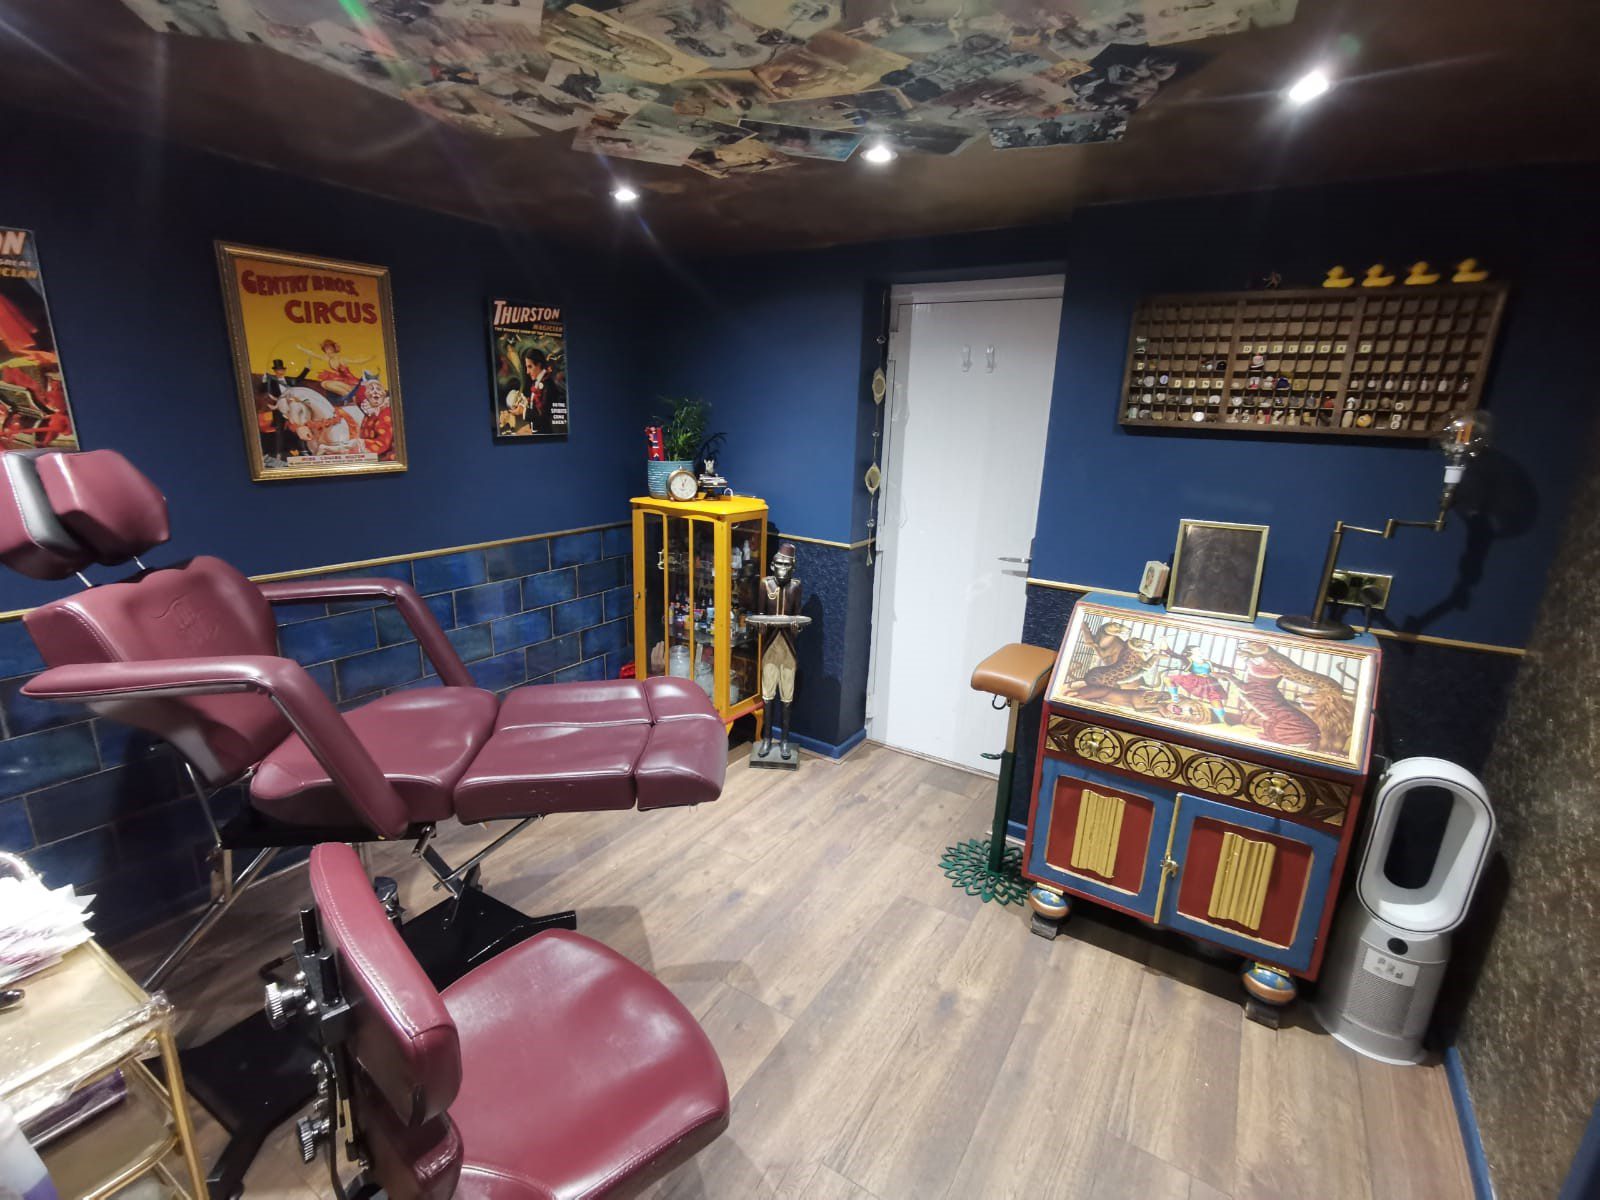
Once our works were complete, the client took over the design and finishing with the required decor including paint and tiles etc.
All furniture and required equipment was installed to create an amazing looking studio.